Create a Web Form
In this walkthrough, we will learn how we can create a Web Form for the Paycheck Protection form. As you walkthrough, we will provide tool tips.
Follow the blue circle to get step-by-step instructions through the guide.
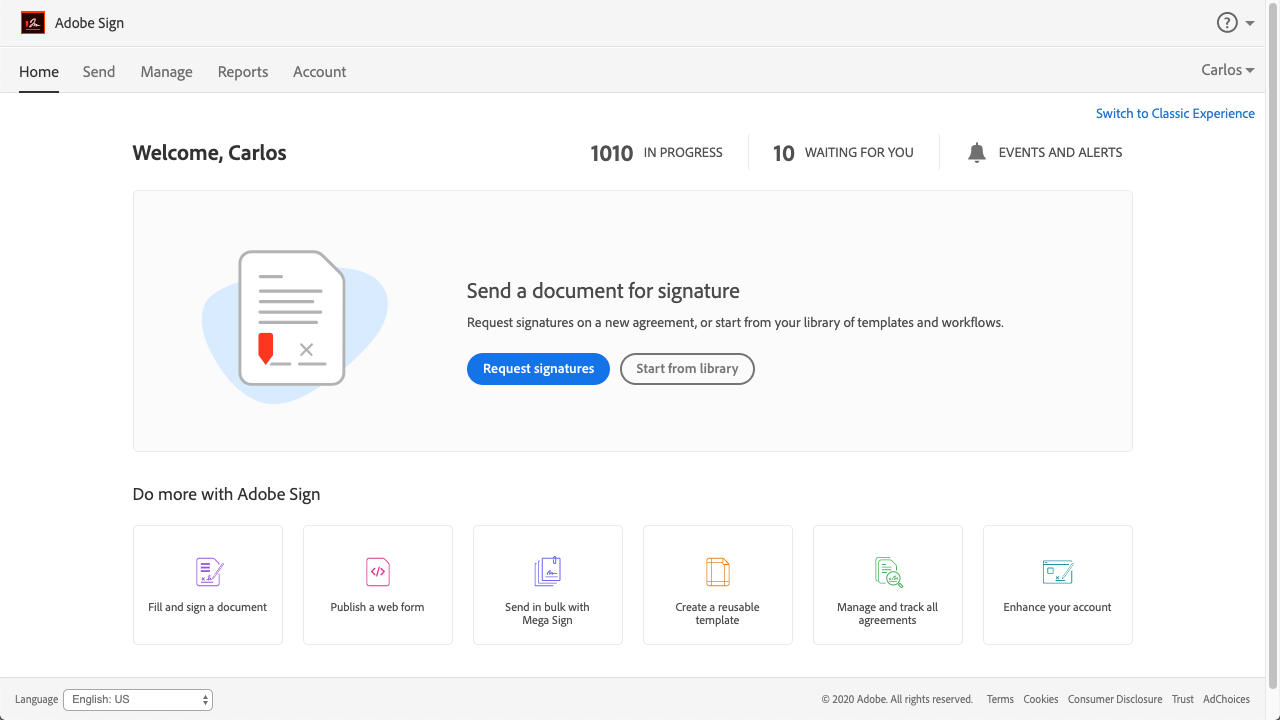
Get Started

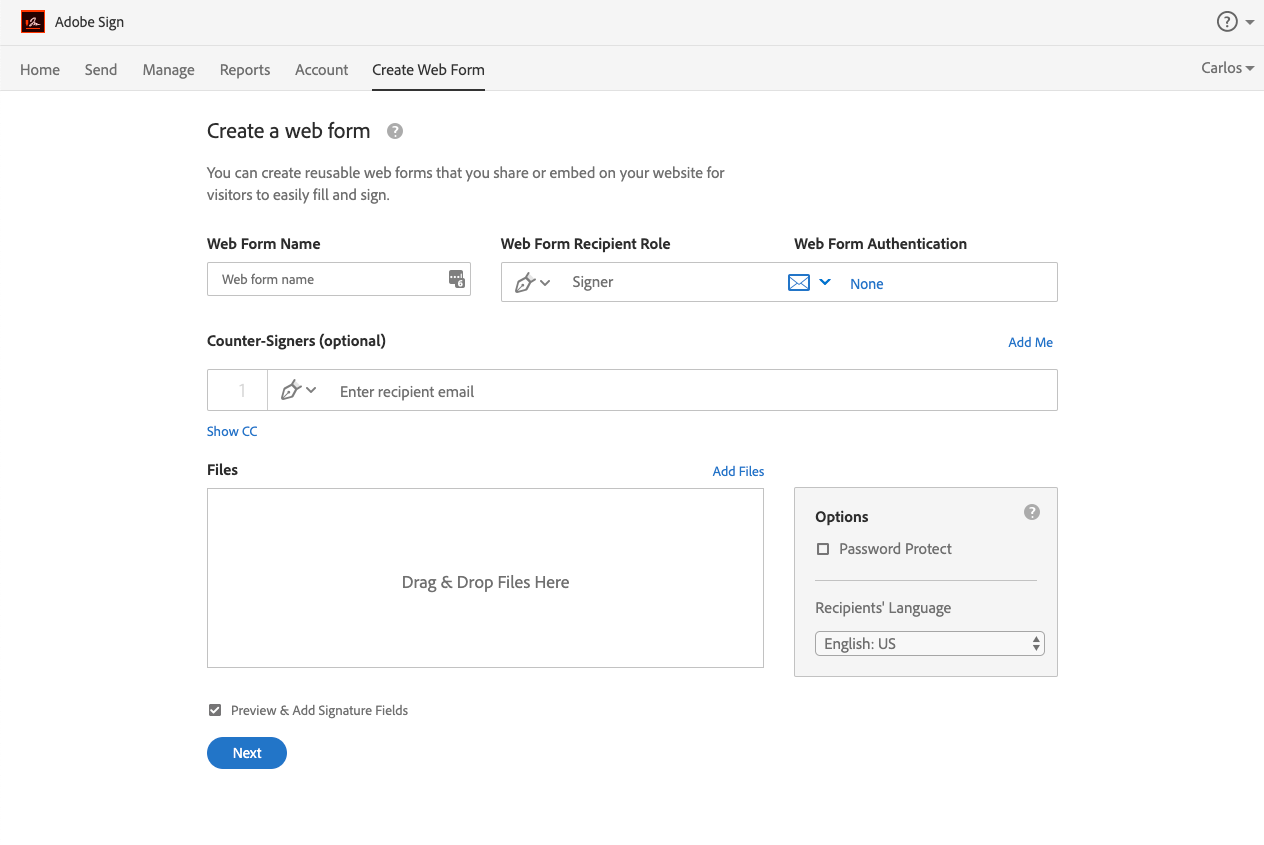
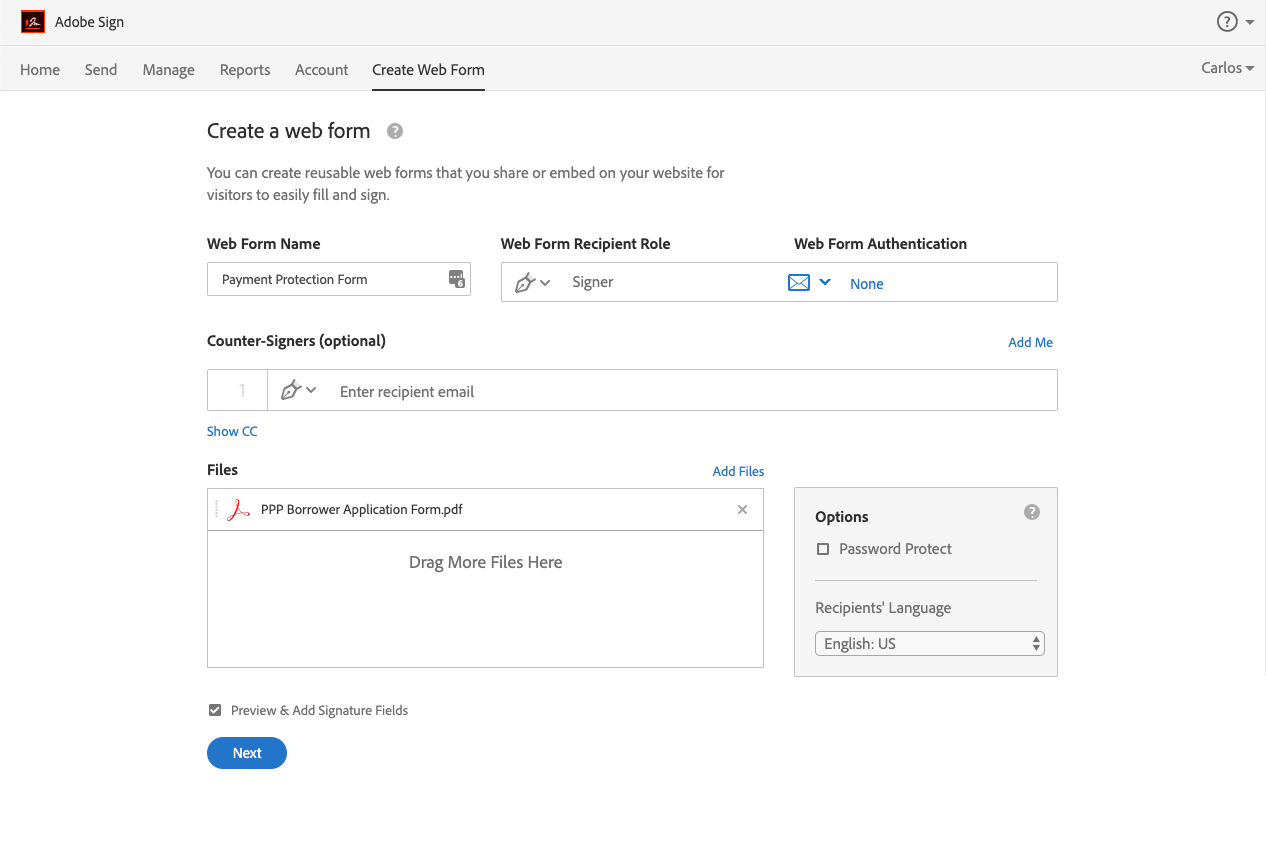
Set the name of your Web Form.
ex. Paycheck Protection Form
Paycheck Protection Form
Paycheck Protection Form
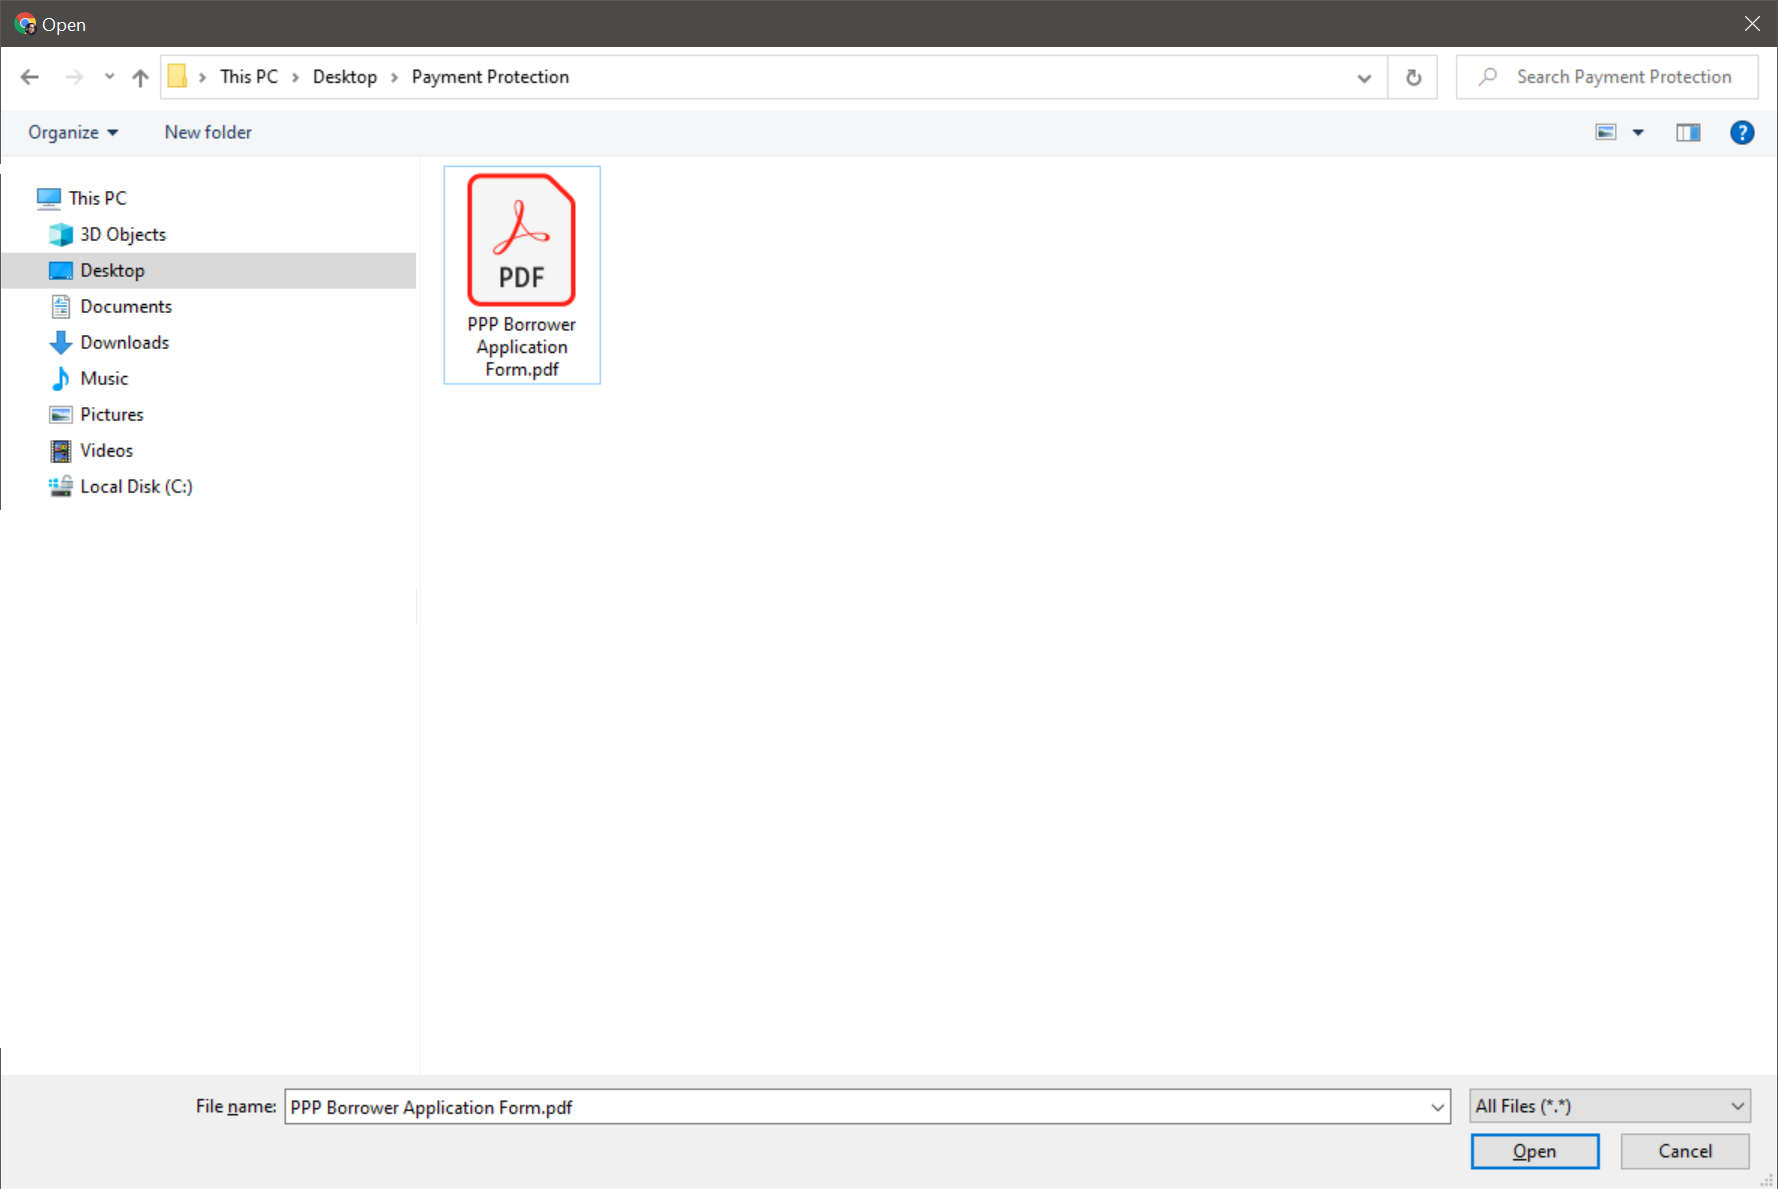
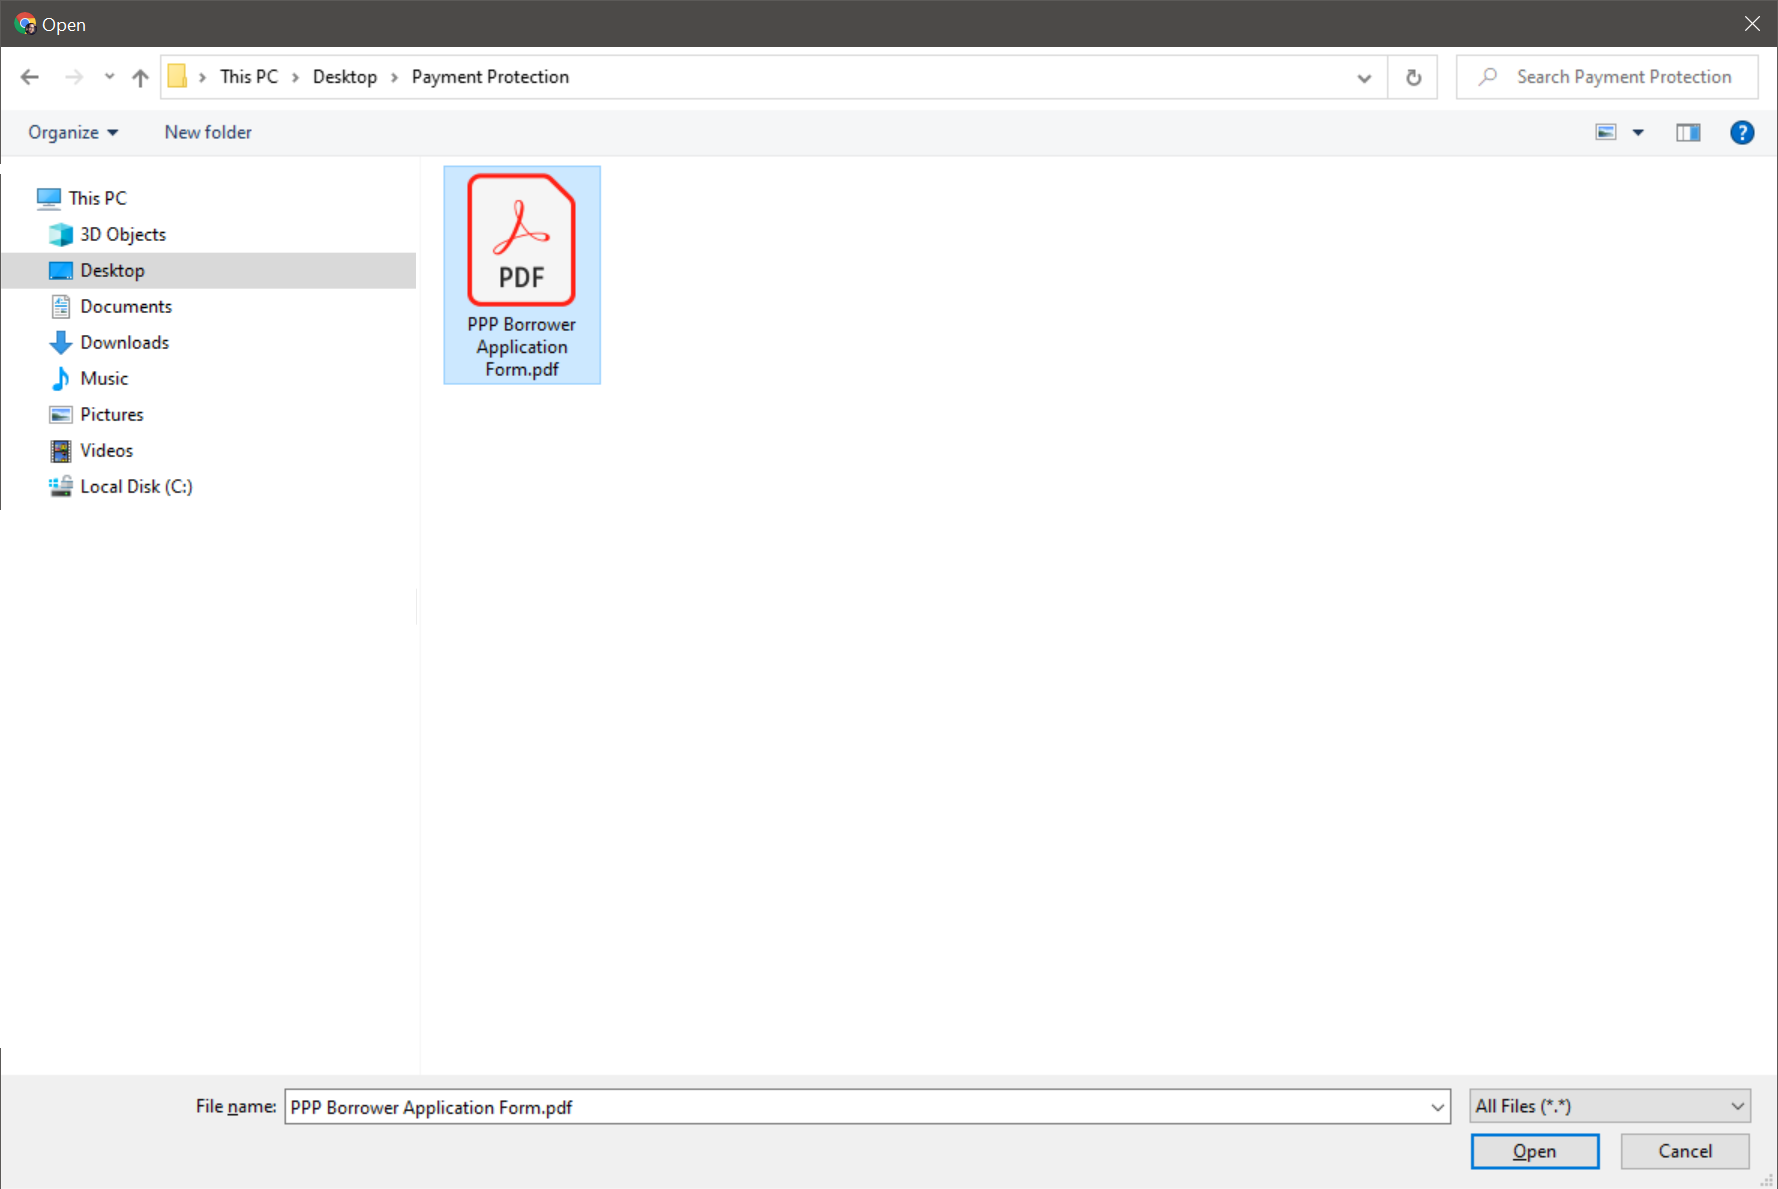
Drag and drop from your computer or pull from OneDrive, etc.
Paycheck Protection Form

Click to choose and upload your file.
Paycheck Protection Form
Paycheck Protection Form
Paycheck Protection Form
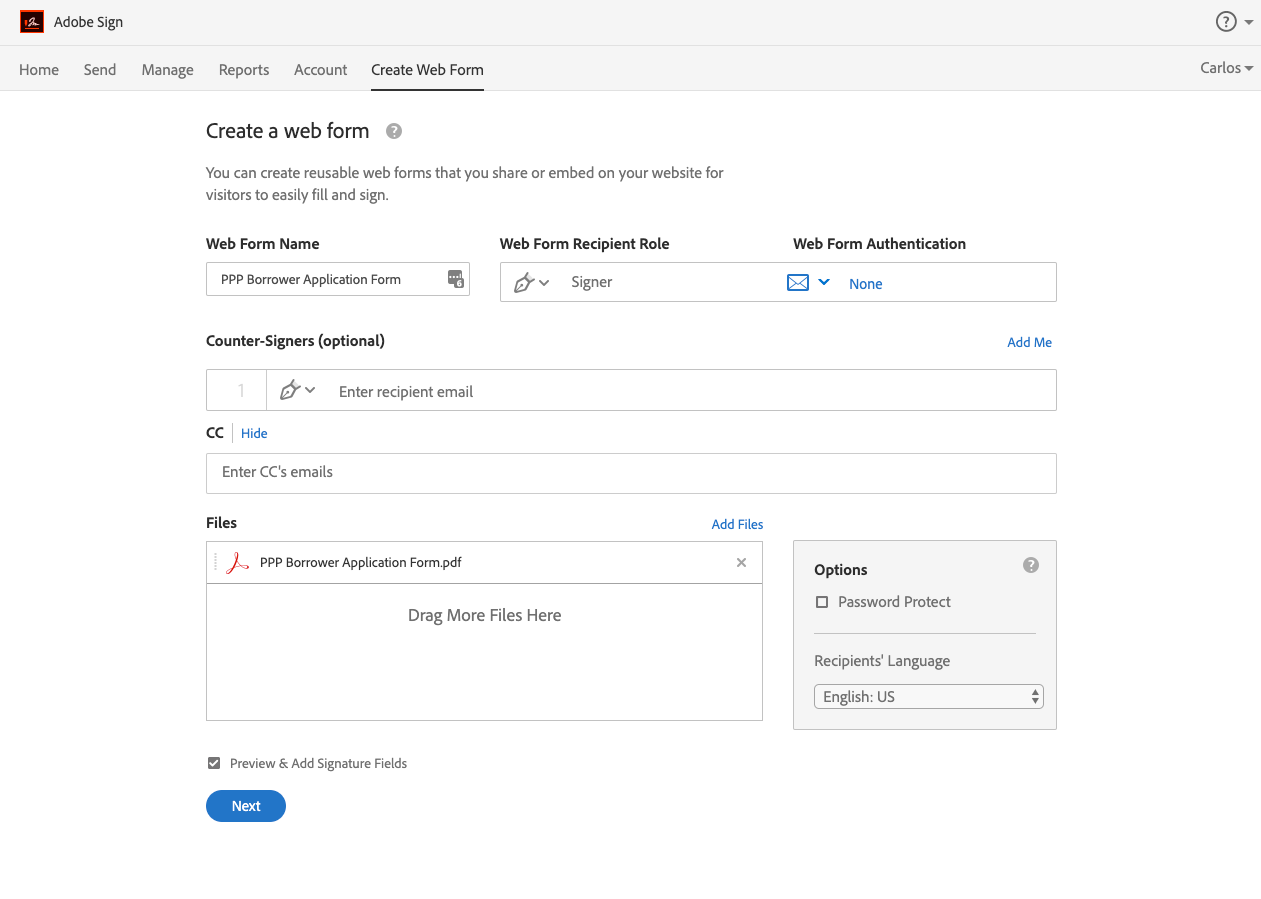
You can set an email address and an email copy will be sent to that address.
You can have signed documents automatically pushed to repositories like SharePoint, Dropbox, BOX, etc.
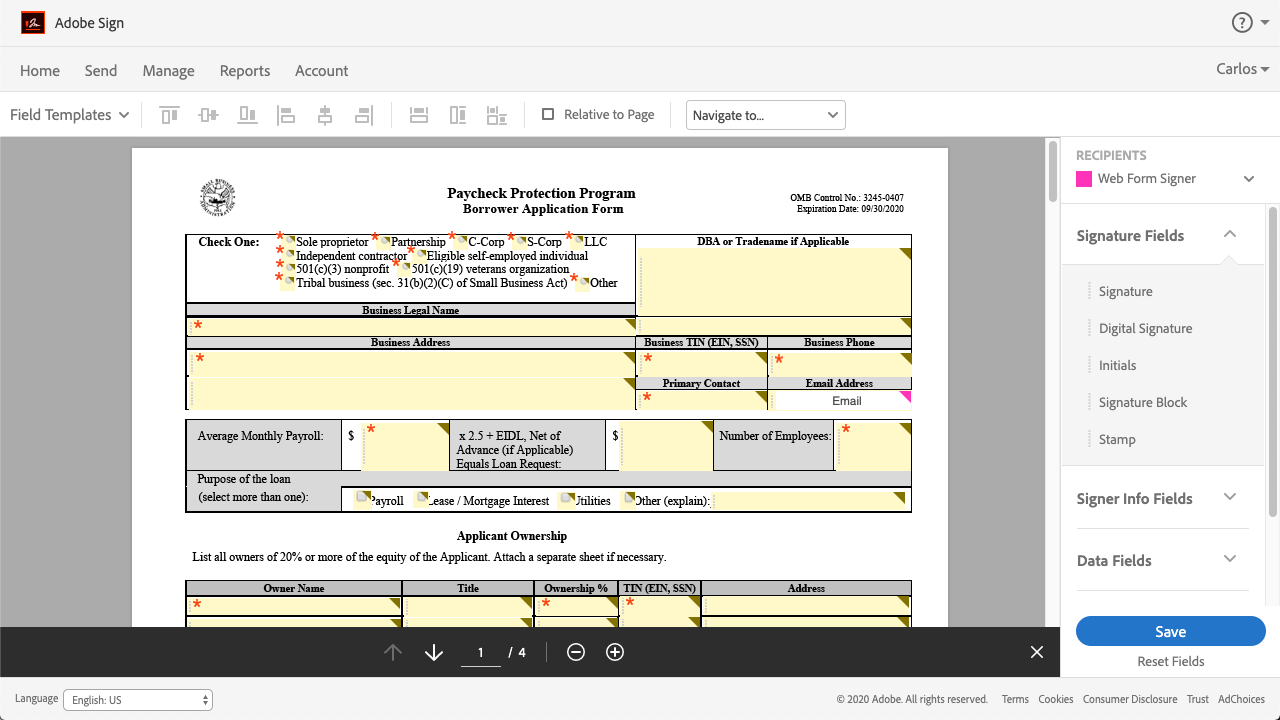
You can drag and drop additional fields into forms if necessary. In this case, all your forms fields have been already placed from the provided template.
Form fields include text fields, drop-downs, checkboxes, etc. Each field can also have form validation.
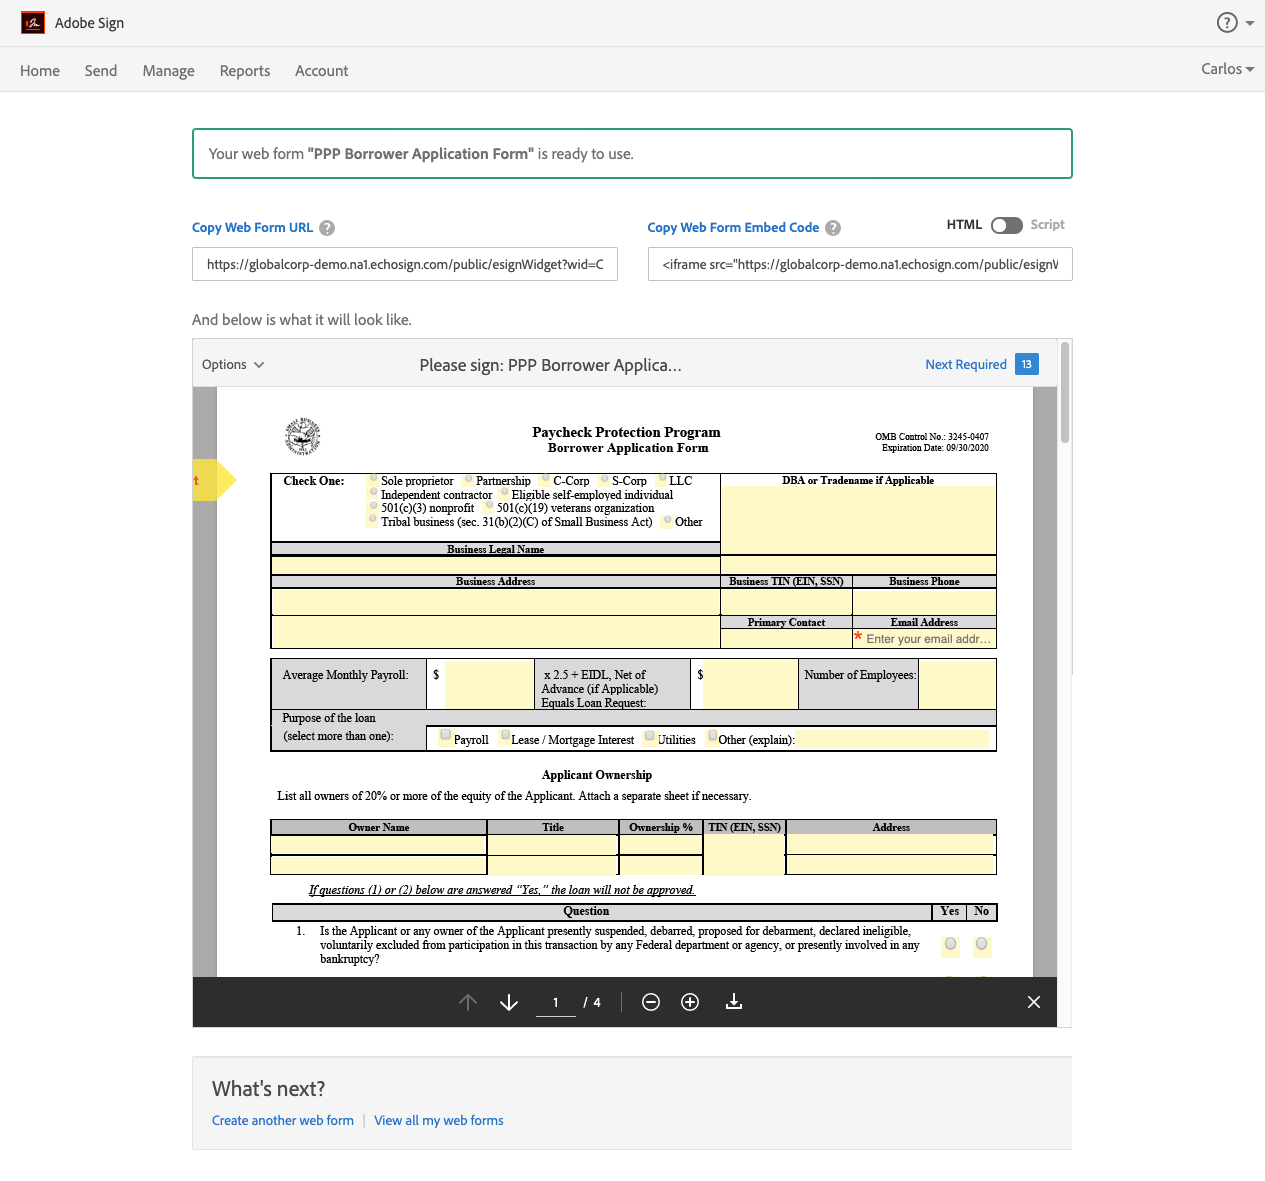
That’s it! You can now take this URL, place it on your web page or send it as a link. Now let’s have a look at what the final results looks like.
You will now be redirected to a live Adobe Sign Web Form for you to complete. Any data you put in should be for the purpose of demonstration and you should not provide sensitive information.
View Sample Web Form