Creating a non-searchable PDF from Office documents
By Rick Borstein – July 21, 2009
Every once in a while, I receive an email that has me scratching my head a bit, such as this one:
When you PDF a document that you generate in MS Word, is there a way to produce an "image-only" PDF, with non-searchable text? The only way I know how is to print out and scan the document back into Acrobat.
Why would someone want to take a perfectly good, fully-searchable document and turn it into an image-only PDF which is just a picture of the page in a PDF wrapper?
The answer is that in the course of vigorously defending a client, some firms desire to make using documents as difficult as possible for the other side.
Of the various PDF flavors, an image-only PDF:
- Is 3 to 5 times larger in file size
- Looks worse on screen
- Prints slower
- Is not searchable
"Dumbing down" a PDF to an image probably doesn't cripple the other side very much. Using OCR, the other side can quickly make the document searchable.
It is not without some trepidation that I share this tip. After all, compact, searchable PDF should be what we all aspire to create.
However, since I suspect that many firms are printing out documents and rescanning them, I want to offer a greener alternative.
It's not for me to comment on whether this is fair game or not as you work with the other side, but following is a workaround that will create an image-only, non-searchable PDF from an existing PDF document.
Making a "Crippled PDF" in Seven Easy Steps
- Open the PDF you wish to cripple
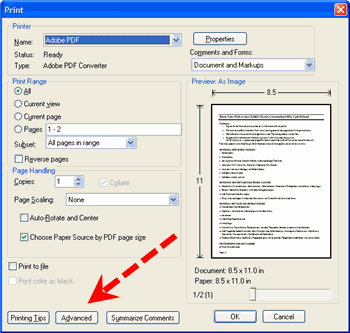
- Choose File > Print
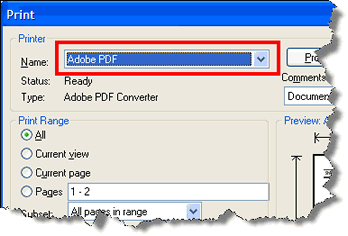
- In the Print window, Choose AdobePDF from the printer list at the top of the window
- Click the Advanced button at the bottom of the window.
- In the Advanced Print Setup window, make the following changes:
- Enabled the "Print as Image" checkbox
- Choose the dpi for the new PDF. The pre-populated values are 72, 150, 300, 600, etc. I would suggest going no lower than 200 dpi or on-screen image quality degrades severely.
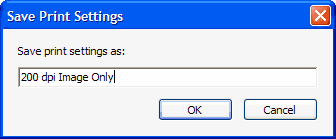
- Click the Save As button and name your new Advanced Print Setting
- Click the OK button to go back to the Print Window
- Click the OK button. Acrobat will ask you to name the new "crippled" file. Save in the location of your choice.


Important!
Acrobat remembers your last print setting and you definitely do not want to print all documents created through the Adobe PDF print driver as image only. Be sure to set it back before you create your next PDF document.
Final Thoughts
A likely follow-on question is "How can I take lots of good searchable PDFs and cripple them so I can really stick it to the other side?"
Here's how:
You can automate the process by combining all of your PDFs into a PDF package and choose File > Print All and following the steps above.
In order to avoid having to name each file during the process, follow these steps:
- In Acrobat 8, combine all documents into a PDF Package
- Choose File > Print All Documents
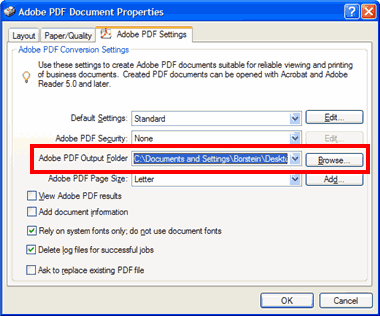
- Choose Adobe PDF from the printer list and click the Properties button
- Change the setting for the Adobe PDF Output Folder by clicking the Browse button and choosing a folder of your choice.


Important!
- Do not save them into the same folder as your originals or you will permanently overwrite the files. Choose a different folder.
- This setting is "sticky". Be sure to change it back the next time you print.