![]()
How to edit PDF files using the Content pane in Acrobat X
By Simon Haringa – February 20, 2012
In this tutorial, learn how to edit PDF using the Content pane in Acrobat X. From time to time it becomes necessary to edit PDF files. Any tutorial or how-to on this topic will mention that if you want to edit PDF files, it’s best to edit the original source file from which the PDF file was created.
It’s good advice that should be followed, but what if you don’t have access to the original or the original is a PDF file?
Acrobat has a tool you can use to edit PDF files. This tool is called the text touch-up tool (Acrobat 9 and earlier) and the text edit tool (Acrobat X and later).
If you have used this tool before, you may have found the experience fiddly to frustrating. This is mainly due to the fact that Acrobat is simply not a word processor. You may find that the paragraph you were editing changes position completely, or a line gets moved above or below. In short, it’s not always predictable how the text is going to look after editing.
Here are a few tips:
- The font used in the PDF file must be installed on your system. You cannot edit fonts for which you do not have a license.
- For best results, ensure the PDF file has been tagged. Tags indicate the PDF document structure in short.
You can check if a PDF file has been tagged or not by checking the PDF properties. With the PDF file open, go to file>document properties and click the description tab:
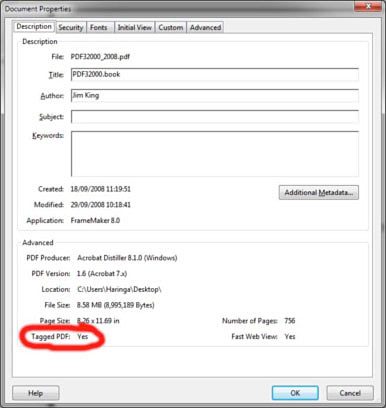
In the above example, the PDF file has been tagged. If your PDF file had not been tagged, it would say 'no' and it’s best to add tags yourself.
So with that out of the way, let's go to the main reason for this tutorial. In Acrobat there are several panes on the left hand side of the window. These panes can show contents of the PDF file such as pages, bookmarks, layers, signatures and many others.
The pane we want is called ‘Content’. Open it by doing the following:
View>Show/Hide>Navigation panes>Content
You’ll now have the Content pane open and it will look a bit like the image below:
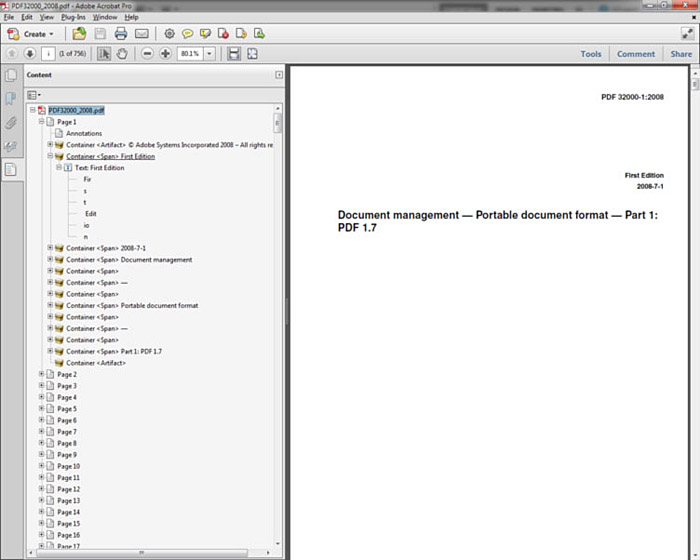
Click the options menu ![]() in the upper-left corner of the Content pane.
in the upper-left corner of the Content pane.

Make sure Highlight Content is selected, as it has been in above screenshot. This will ensure that whatever you select in the Content panel will be highlighted on the main page.
The Content pane provides a hierarchical view of the objects that make up a PDF file, including the PDF object itself. Each document includes one or more pages, a set of annotations (such as comments and links) and the content objects for the page. The content objects consist of containers, text, paths and images. Objects are listed in the order in which they appear on the page, like tags in the logical structure tree; however, PDF files don’t require tags for you to view or change the object structure.
So how do you make use of the information in the Content panel?
In short, the information provided will give you a better idea of how the text is placed inside the PDF file and what happens when you select or edit the text in terms of reflowing the rest of the text on that page in the PDF file.
Taking the above example, my sample PDF file is the first edition of the PDF ISO 32000 specification. Let’s try and make it into the second edition.
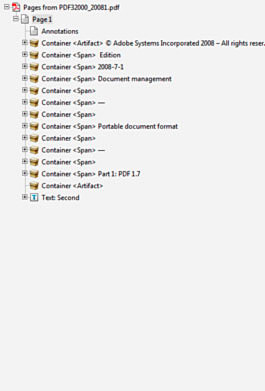
With the Content pane open, expand the document until it looks something like this:
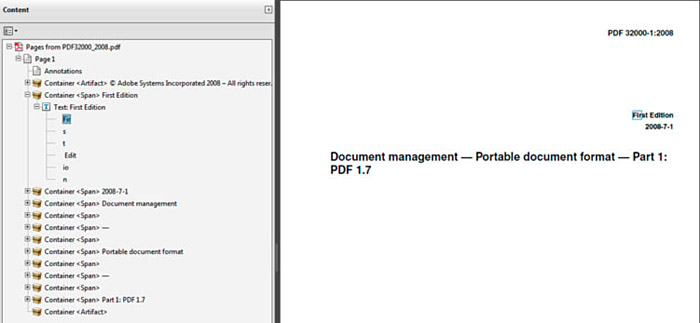
In the screenshot above, I selected the first three letters of the word First, ‘Fir.’ Notice how a blue selection rectangle is shown around the letters Fir in the PDF file on the right.
If I select ‘text: First Edition’ from the Content pane, it would select the ‘First Edition’ text.
What can we do from here?
Goal: Delete the word ‘First’ without affecting the placement of the word ‘Edition.’
Method: Right-click ‘Fir’ in the Content pane and select delete. Repeat for ‘s’ and ‘t’. If you use the text edit tool, the word ‘Edition’ would move to the left.
Goal: replace the word First with Second, trying to maintain the right alignment as much as possible.
Method:
- Use the above technique to delete the word ‘First.’
- Right-click the word ‘Edition’ in the Content pane and select properties.

- Click the text tab and make a note of the font used (and/or make any changes to the font if needed).
- Close this dialog box and select the text edit tool (touchup text tool in version 9 and earlier).
- Hold the CTRL key and with the Edit text tool, select-click an empty spot in the document.
- Choose a font that matches the font found in step 3.
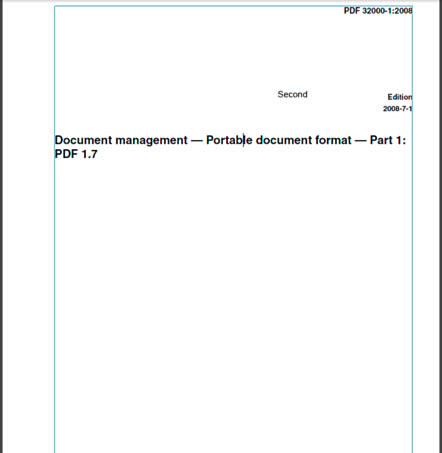
- Type ‘Second’. It may look like the screenshot below.
- Find the text object Second in the Content pane. It’s added to the bottom. Click it once to make the selection.
- Select the ‘Edit Object’ tool (TouchUp Object tool in Acrobat 9 and earlier) from the Content panel (on the right).
- Drag the selected text to the left of the Word edition. Assuming you use the same font and the same font size, you should be able to line them up.
Use zoom controls and enable the grid view to help the positioning.
End result:

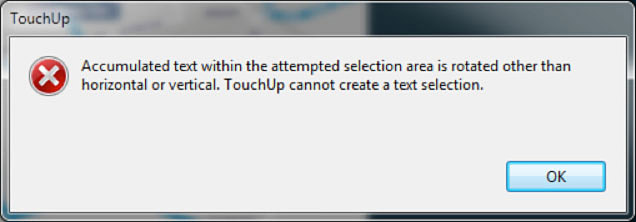
When you see this message, you can still delete the unwanted text via the Content navigation panel and add new text in its place.
While the overall process is still cumbersome, using the Content pane when editing text should make it less frustrating to edit text in a PDF file using Acrobat’s text edit tool. Next time you try to edit text and things go pear shaped, open the Content navigation panel and see how the text has been positioned in the PDF file.