This tutorial shows you how to work with the Combine Files features in Acrobat 9. See what the all-new Acrobat DC can do for you.
Download a free trial of the new Acrobat.
More 3D reviewer features in Acrobat 9
Learn about some additional features of 3D Reviewer, a robust 3D tool set found in Adobe Acrobat 9 Pro Extended.
In this tutorial, learn about some additional features of 3D Reviewer. I will address physical properties and compare features (not necessarily in that order). We will start today by opening a PDF I created some time ago. This PDF contains two versions of a design. These two CAD files were imported into 3D Reviewer and "merged" into a single model tree, so I can easily toggle between the two or display both if I want to. The file was then saved to PDF using techniques I outlined in previous articles. Click below to take a look at the designs and features I will be showing.
The Compare Feature
Let's start by opening Acrobat Pro Extended. 3D Reviewer can be launched separately from Acrobat or opened by right clicking on any 3D window and selecting "Edit in 3D Reviewer." This time I decided to show the resulting PDF first.
Here is our "new" design. Since I have two versions in this file, I simply use show/hide controls to move between the two versions. Notice the ridges on the side of the bottle.
And here is the original model:
No ridges on this one, but I wonder if that is the only difference. I want to find out. Let's right click the 3D window and select "Edit in 3D Reviewer." Now, we will select the compare feature as shown below:

I simply selected "Compare" from the tools pull down menu. Notice I have hidden everything but the bottle, since I know that the lid and filter are the same. The differences are in the bottle itself. Next I will select Bottle V1 from the model tree as the "old model." Then I select V2 as the new model (the order really does not matter). It's the differences we are interested in. Here is the other model:
At this point, I can adjust the detection limit if I want, but I'll leave that as is and just click "Compute." After a few seconds, I can look at the results. In this case I have chosen to show just what is changed. How many times would you have liked to compare two designs; particularly when you don't really know what or if anything has changed? Look at this:
Pretty cool, huh? Notice I could have displayed new, old or unchanged. Outstanding capability!
Physical properties
While we are here, let's also compute the physical properties for our new bottle design. Perhaps we want to know if the volume has changed.
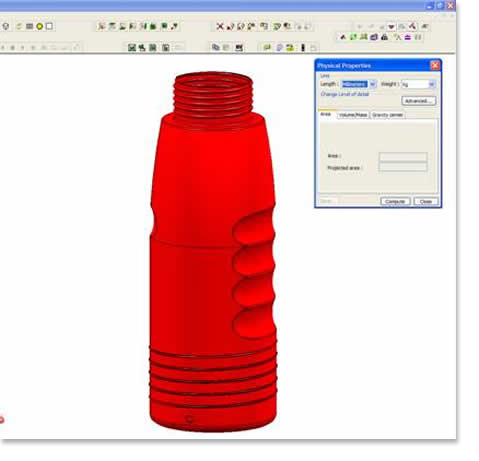
I have circled the physical properties icon for you. This time I clicked the icon to get to the tool I wanted, but you can find it on the tools pull down, too. Let's just click "Compute" to see what we get. Here is the area calculation:

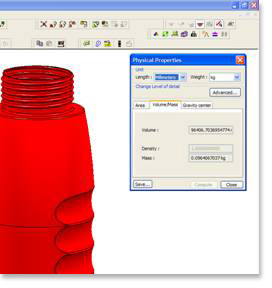
And here is the volume calculation we were looking for. The volume and mass are both computed (density = 1.0 for this particular example).
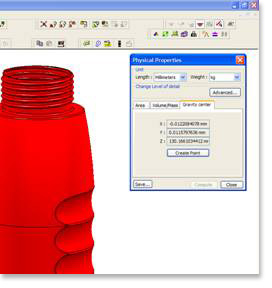
And then the center of gravity is also available:
I can save all of these results if I want, but I'll let you experiment with that, now that you know how to use these features.
Good luck with your work with Acrobat and 3D Reviewer.
Products covered: |
Acrobat 9 |
Related topics: |
Combine Files |
Top Searches: |
Create PDF combine files into one PDF Rearrange PDF pages |
Try Acrobat DC
Get started >
Learn how to
edit PDF.
Ask the Community
Post, discuss and be part of the Acrobat community.
Join now >

0 comments
Comments for this tutorial are now closed.
Comments for this tutorial are now closed.